


All About The Garden Path

After recently trimming my garden path, I was inspired to sit and answer the most common questions I get about the curve design, clover ground cover and maintenance routine.
Please enjoy the essay below and consider subscribing if you haven’t already.
Curving the Garden Path
Our garden may be a bit unusual in some ways... but the yard probably looks familiar to many who live in urban areas. It’s a long and narrow lot, approximately 20 feet wide by 40 feet long in our case.
When we first moved here, a concrete path cut the lawn right down the middle. This exaggerated the space, making it appear even narrower than it was.
The original layout created two skinny strips of grass, providing about 6-8 feet of planting space on both sides of the path. This type of layout seemed to require a simple design with short to progressively taller plants, mirrored on both sides. I worried that the symmetry would limit plant choice/placement and I struggled with how to create different garden areas in this space.

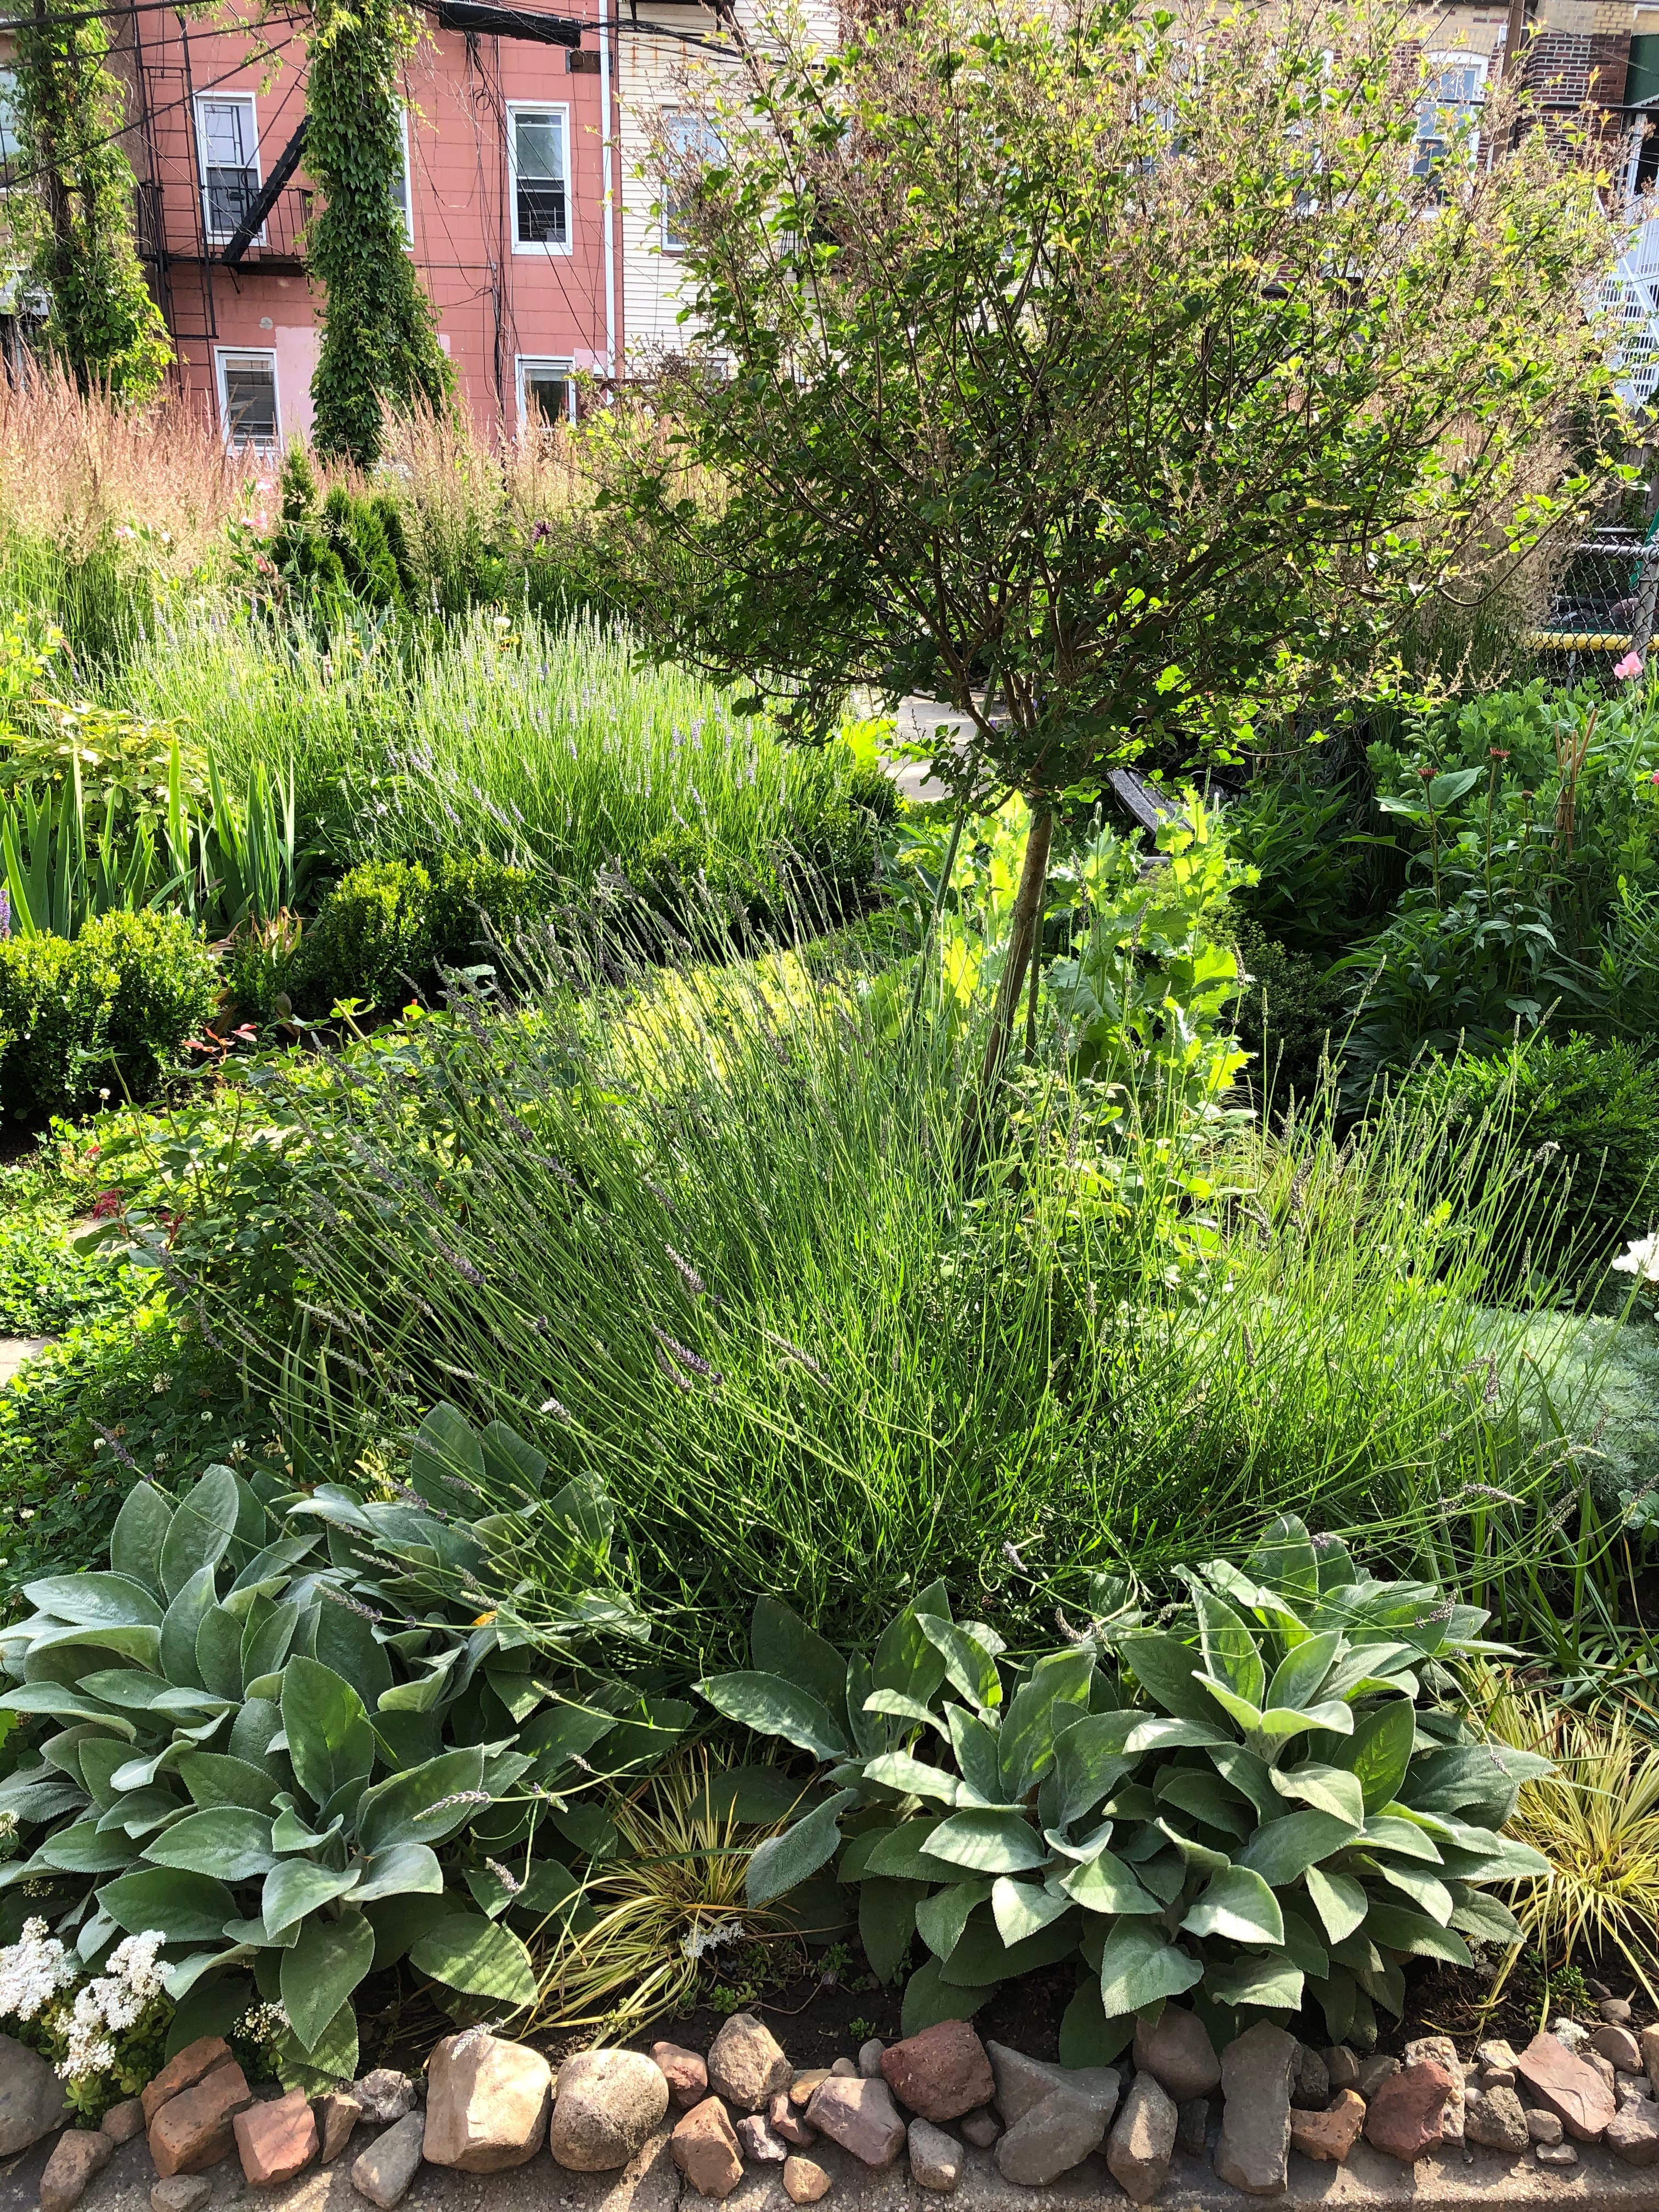
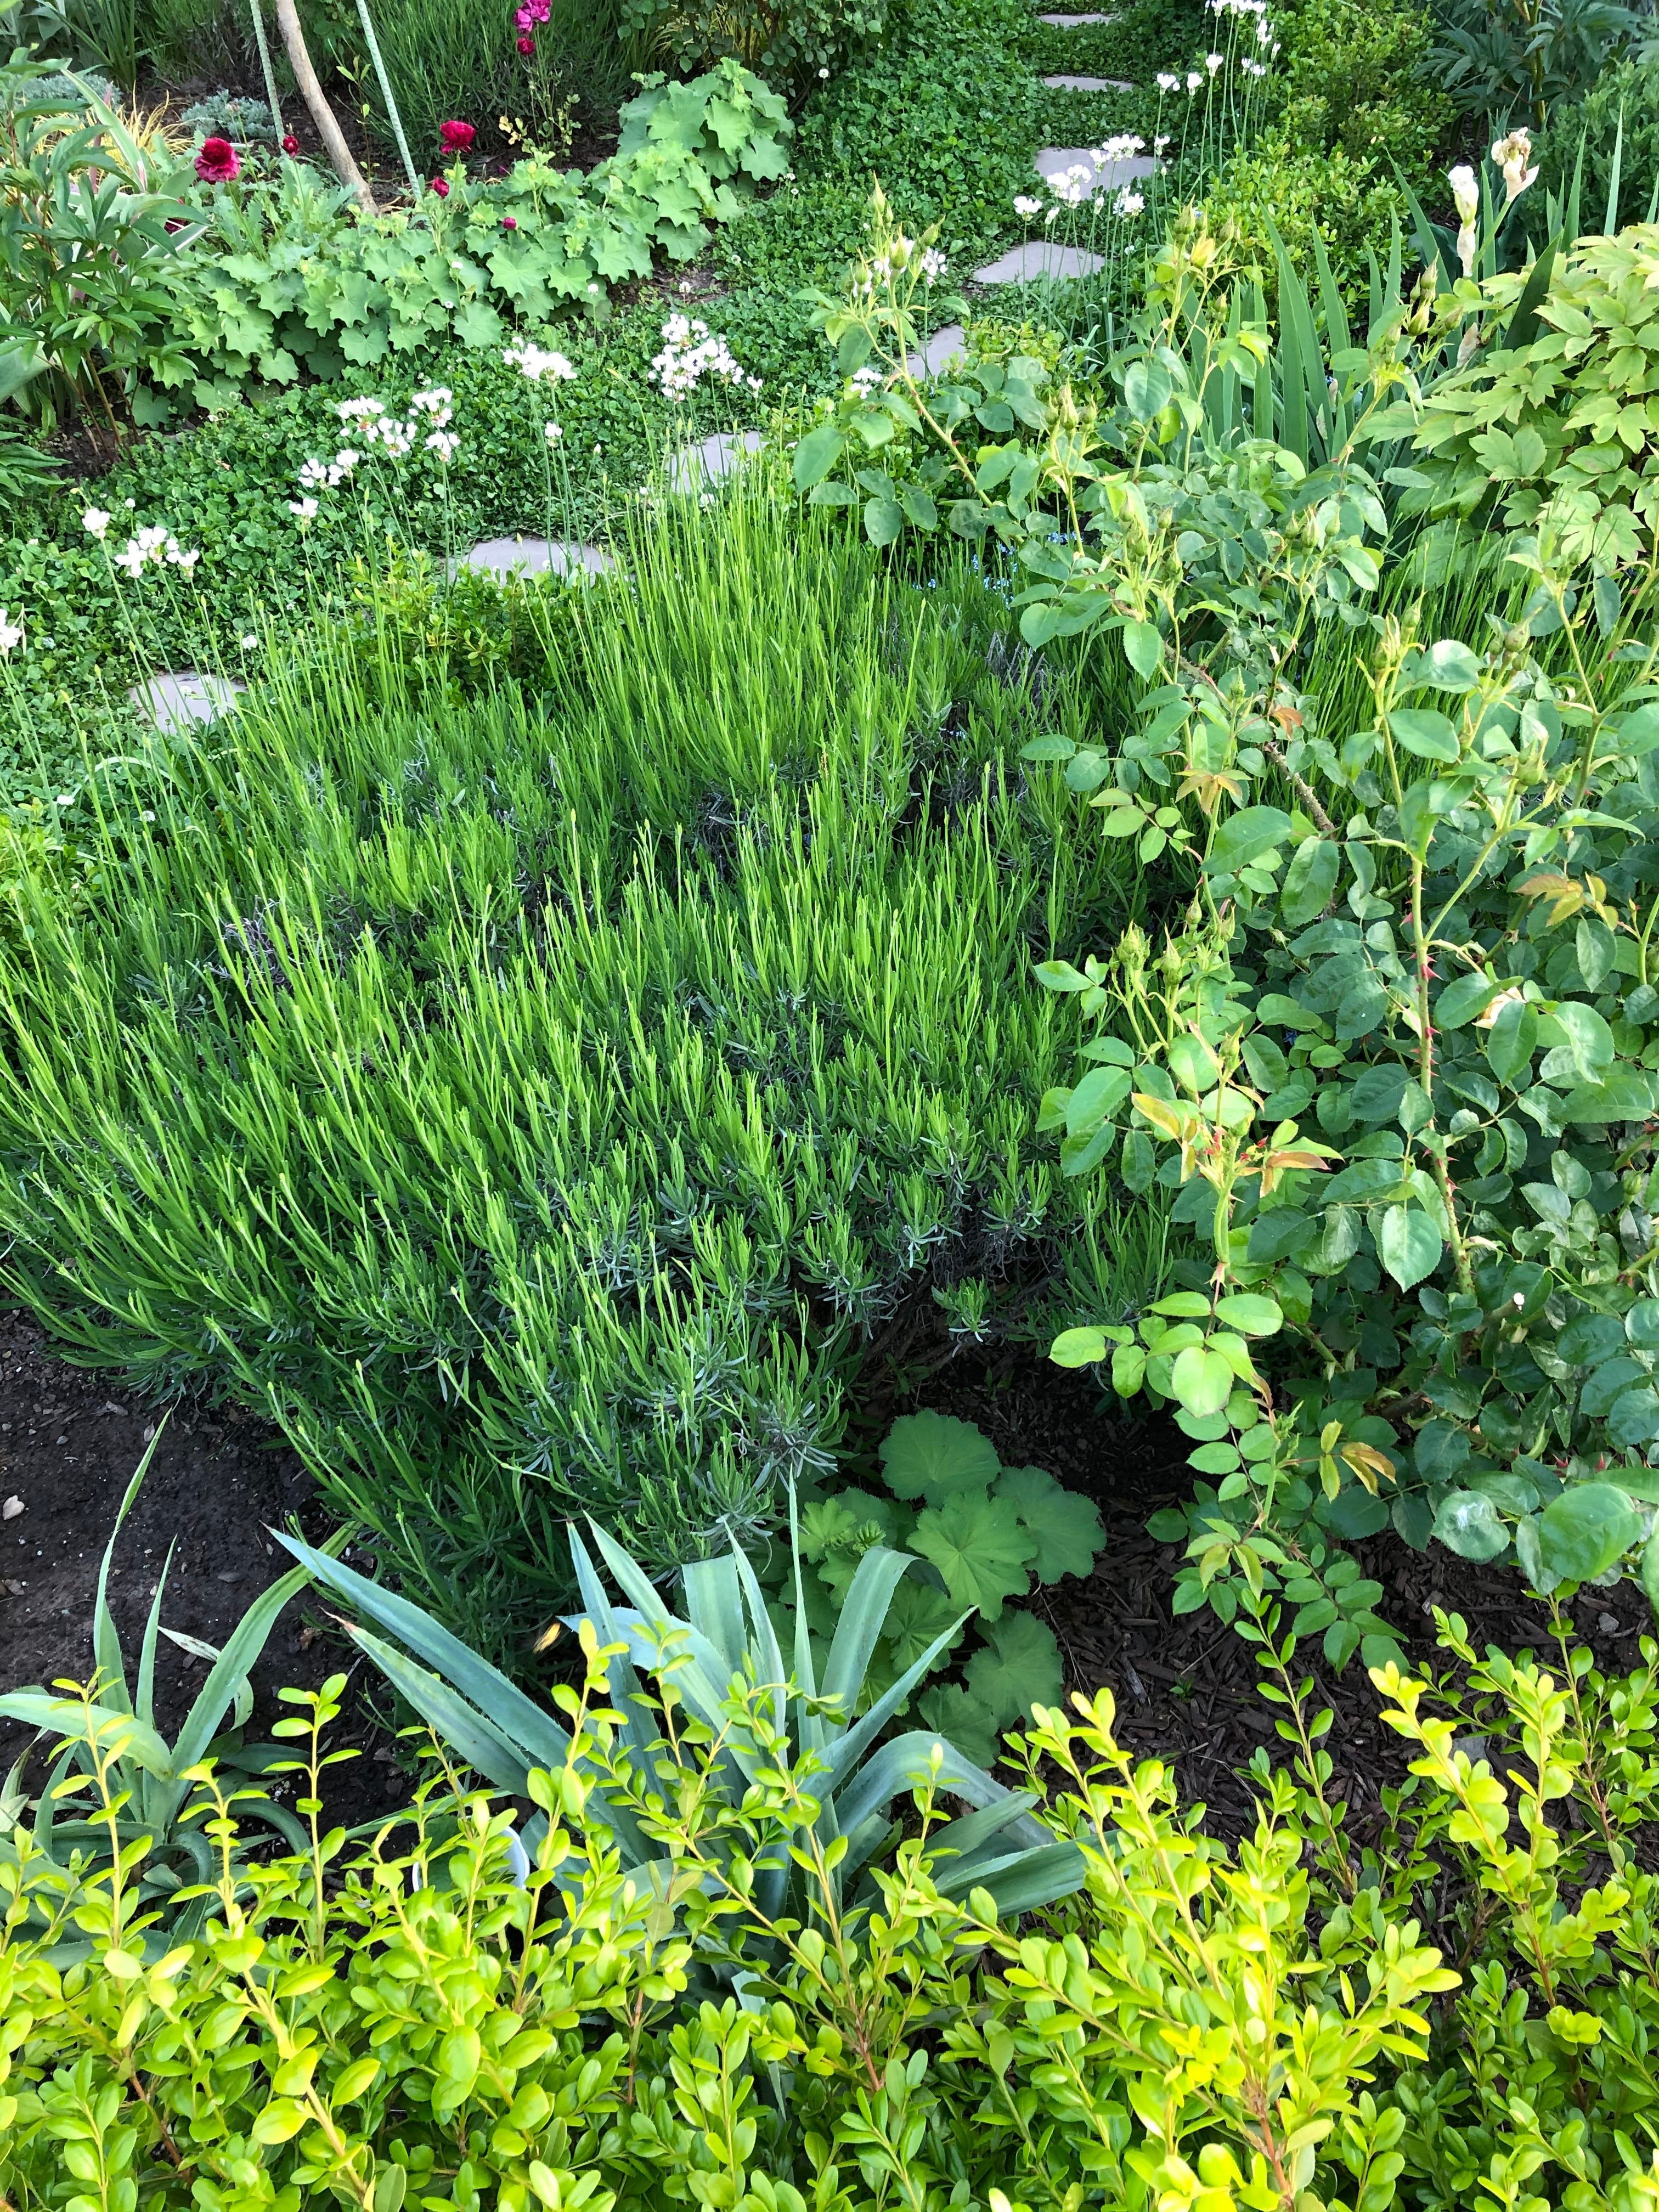
I settled on a curved garden path because I wanted to create two discrete areas. The curves allowed me to make deep garden beds, which are almost 14 feet across at their widest spots. The two garden beds would reference each other but they would include some different plants, textures and arrangement styles.
The curve focuses your attention on the garden bed at the front. The front bed includes tall plantings, which are not common near the front of a garden bed, and intentionally obscure the rest of the garden so you are encouraged to walk down the path.
Building the Garden Path
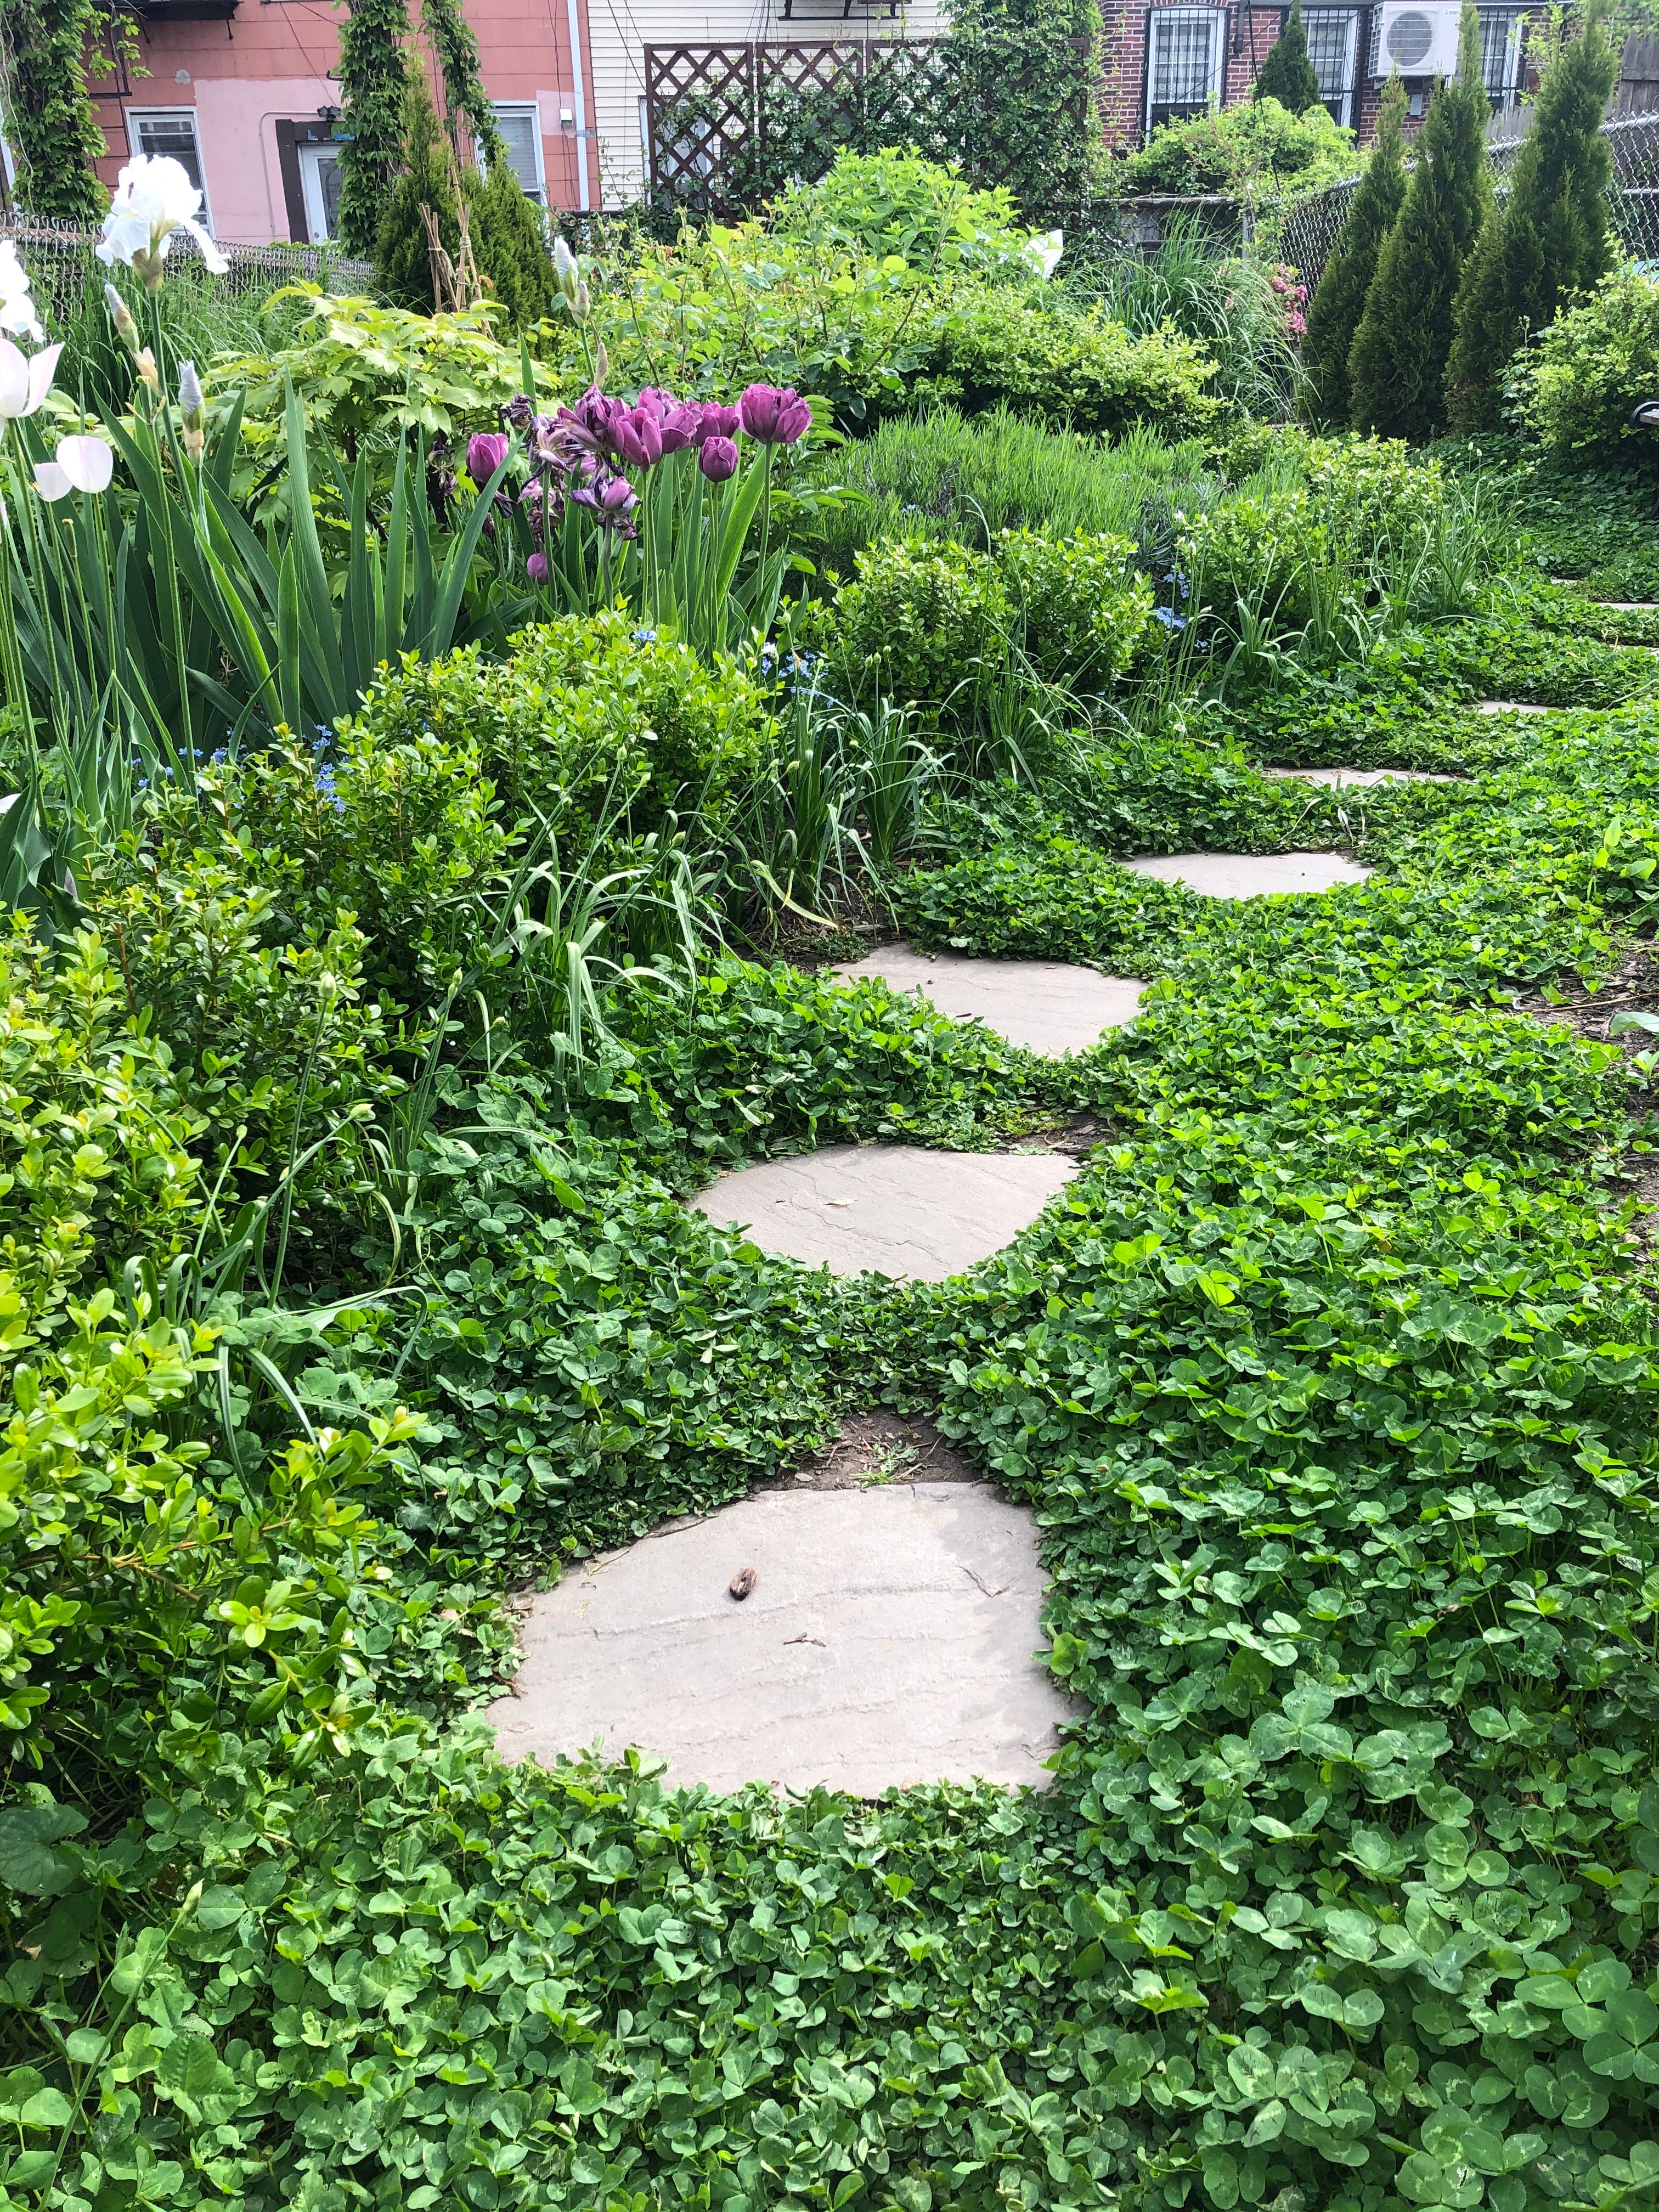
After clearing the area, we set stepping stones along the curved path. My husband was inspired to place the stones a bit closer together than may feel natural. It’s a bit awkward at first step but it slows your pace and encourages you to appreciate the plants around you.
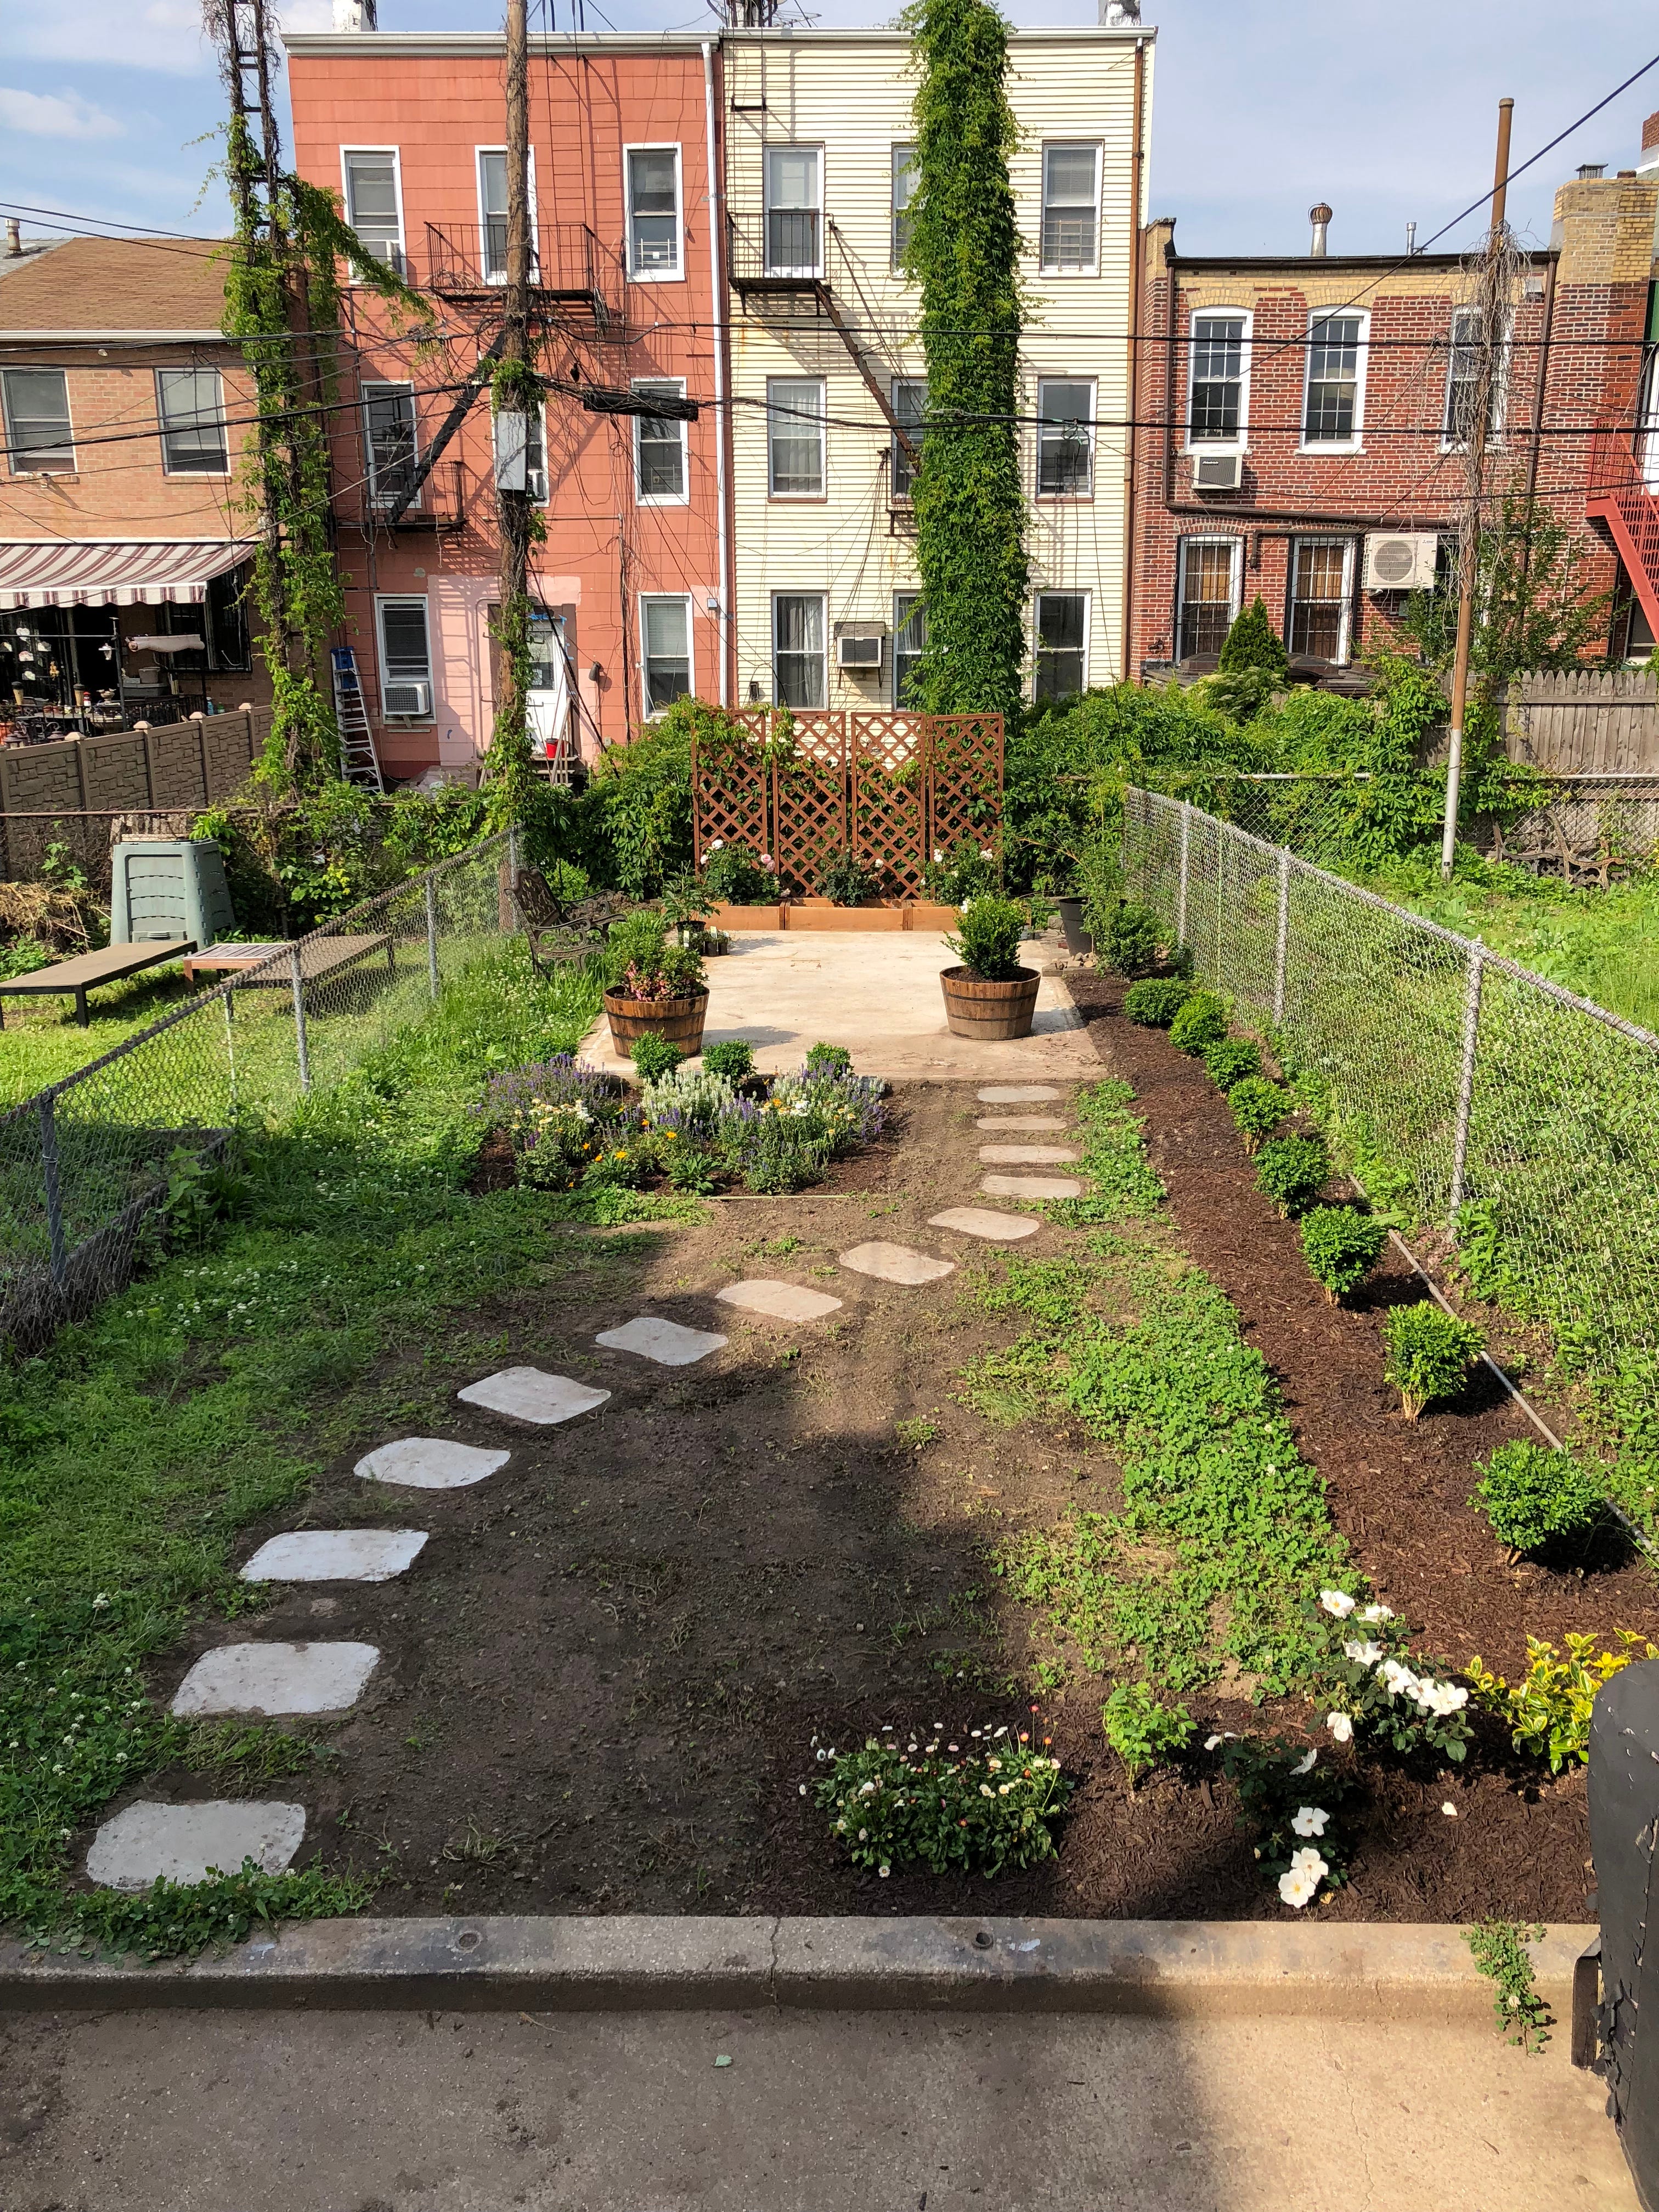
The path was initially covered in wood mulch. It looked good in early spring but I wasn’t sharp enough to realize that stepping on and kicking around the mulch would expose the billions of weed seeds... So, as you can imagine, the area was very quickly overwhelmed with weeds.
This is the garden path with its initial wood mulch cover.
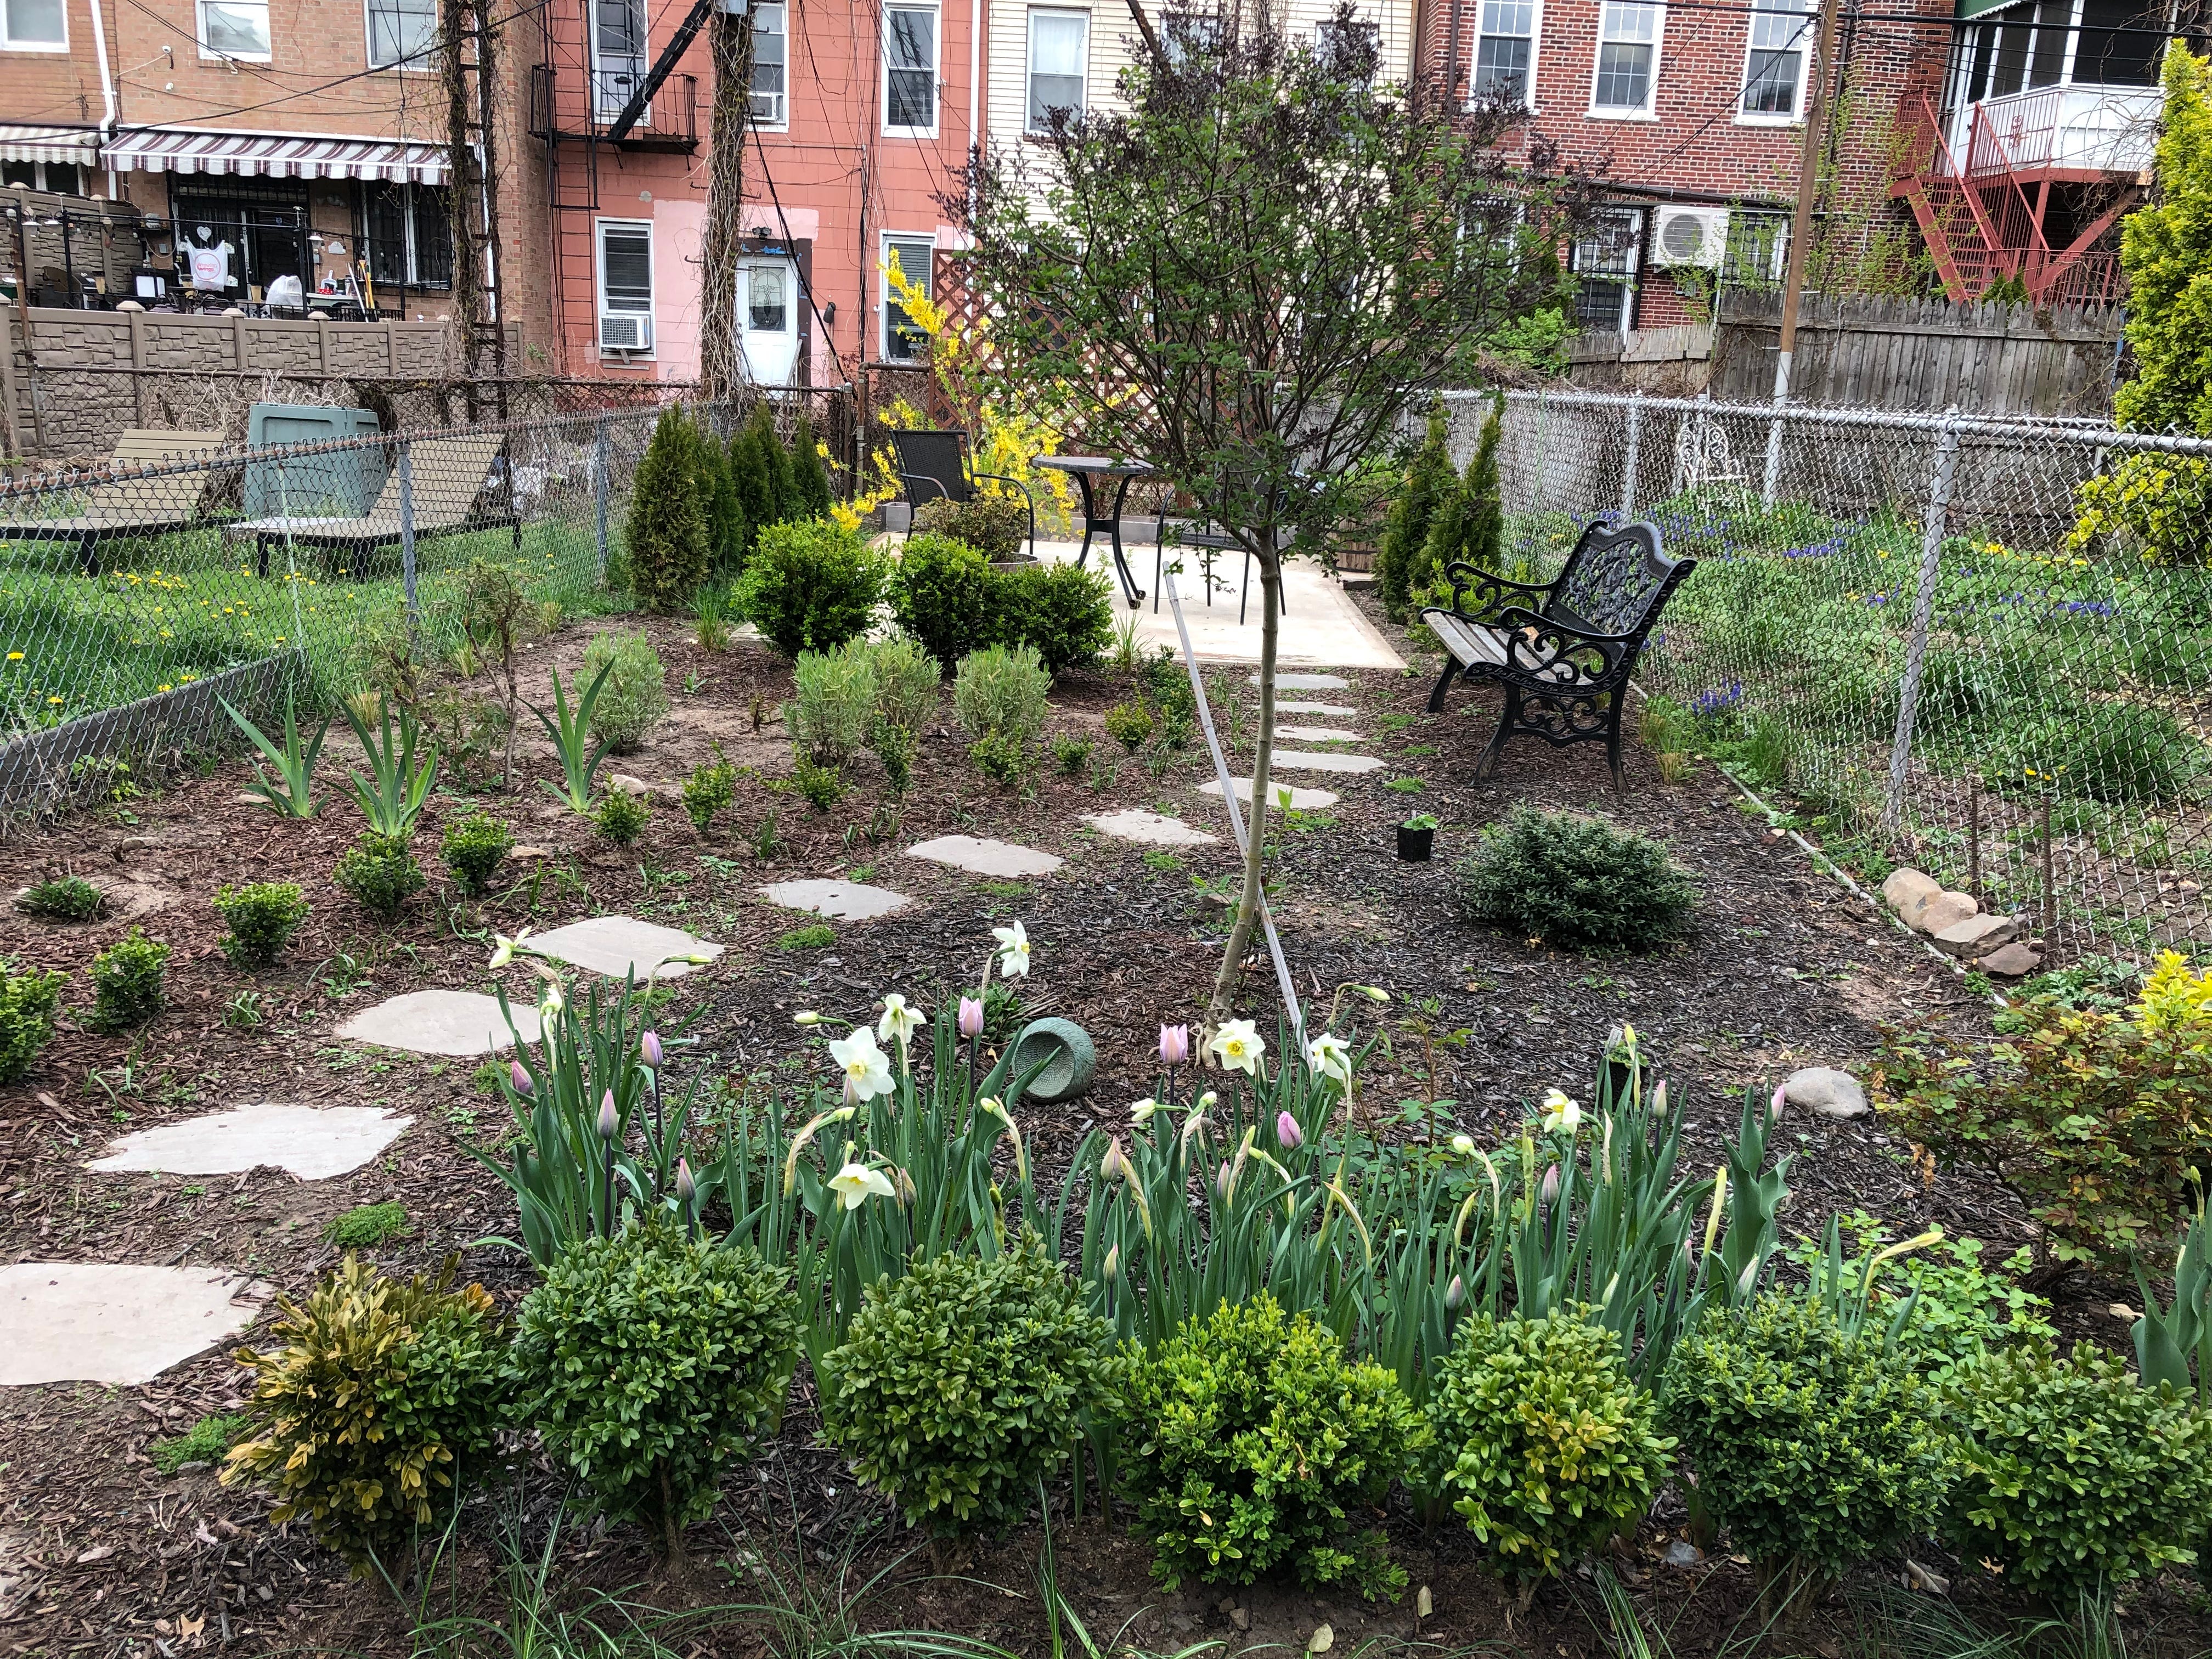
I wasn’t sure what else to do then so I (very regularly) mowed down the weeds and accepted the path for what it was that summer. At least it was green.
As the summer progressed, it became more difficult to maintain the garden path. The weeds were thick, fast growing and difficult to mow with my manual reel mower. They would also explode into the garden beds and regularly overwhelm my flowers.
This is the garden path covered in weeds, just a few weeks after the prior photo. You can also see them creeping into the boxwood hedge.
By the end of the summer, I was ready to plan a more permanent solution.
Sowing Clover Ground Cover
I researched a number of ground cover options for the path and was most excited about regular, white clover. Most folks think of clover as a nuisance, a common weed. But those annoying traits are what I needed in my garden to outcompete the weeds.
I spent about $5 on clover seed and sowed it along the garden path that fall. Early the next spring, I did a bit of weeding to give the clover a head start. Then I got out of the way.
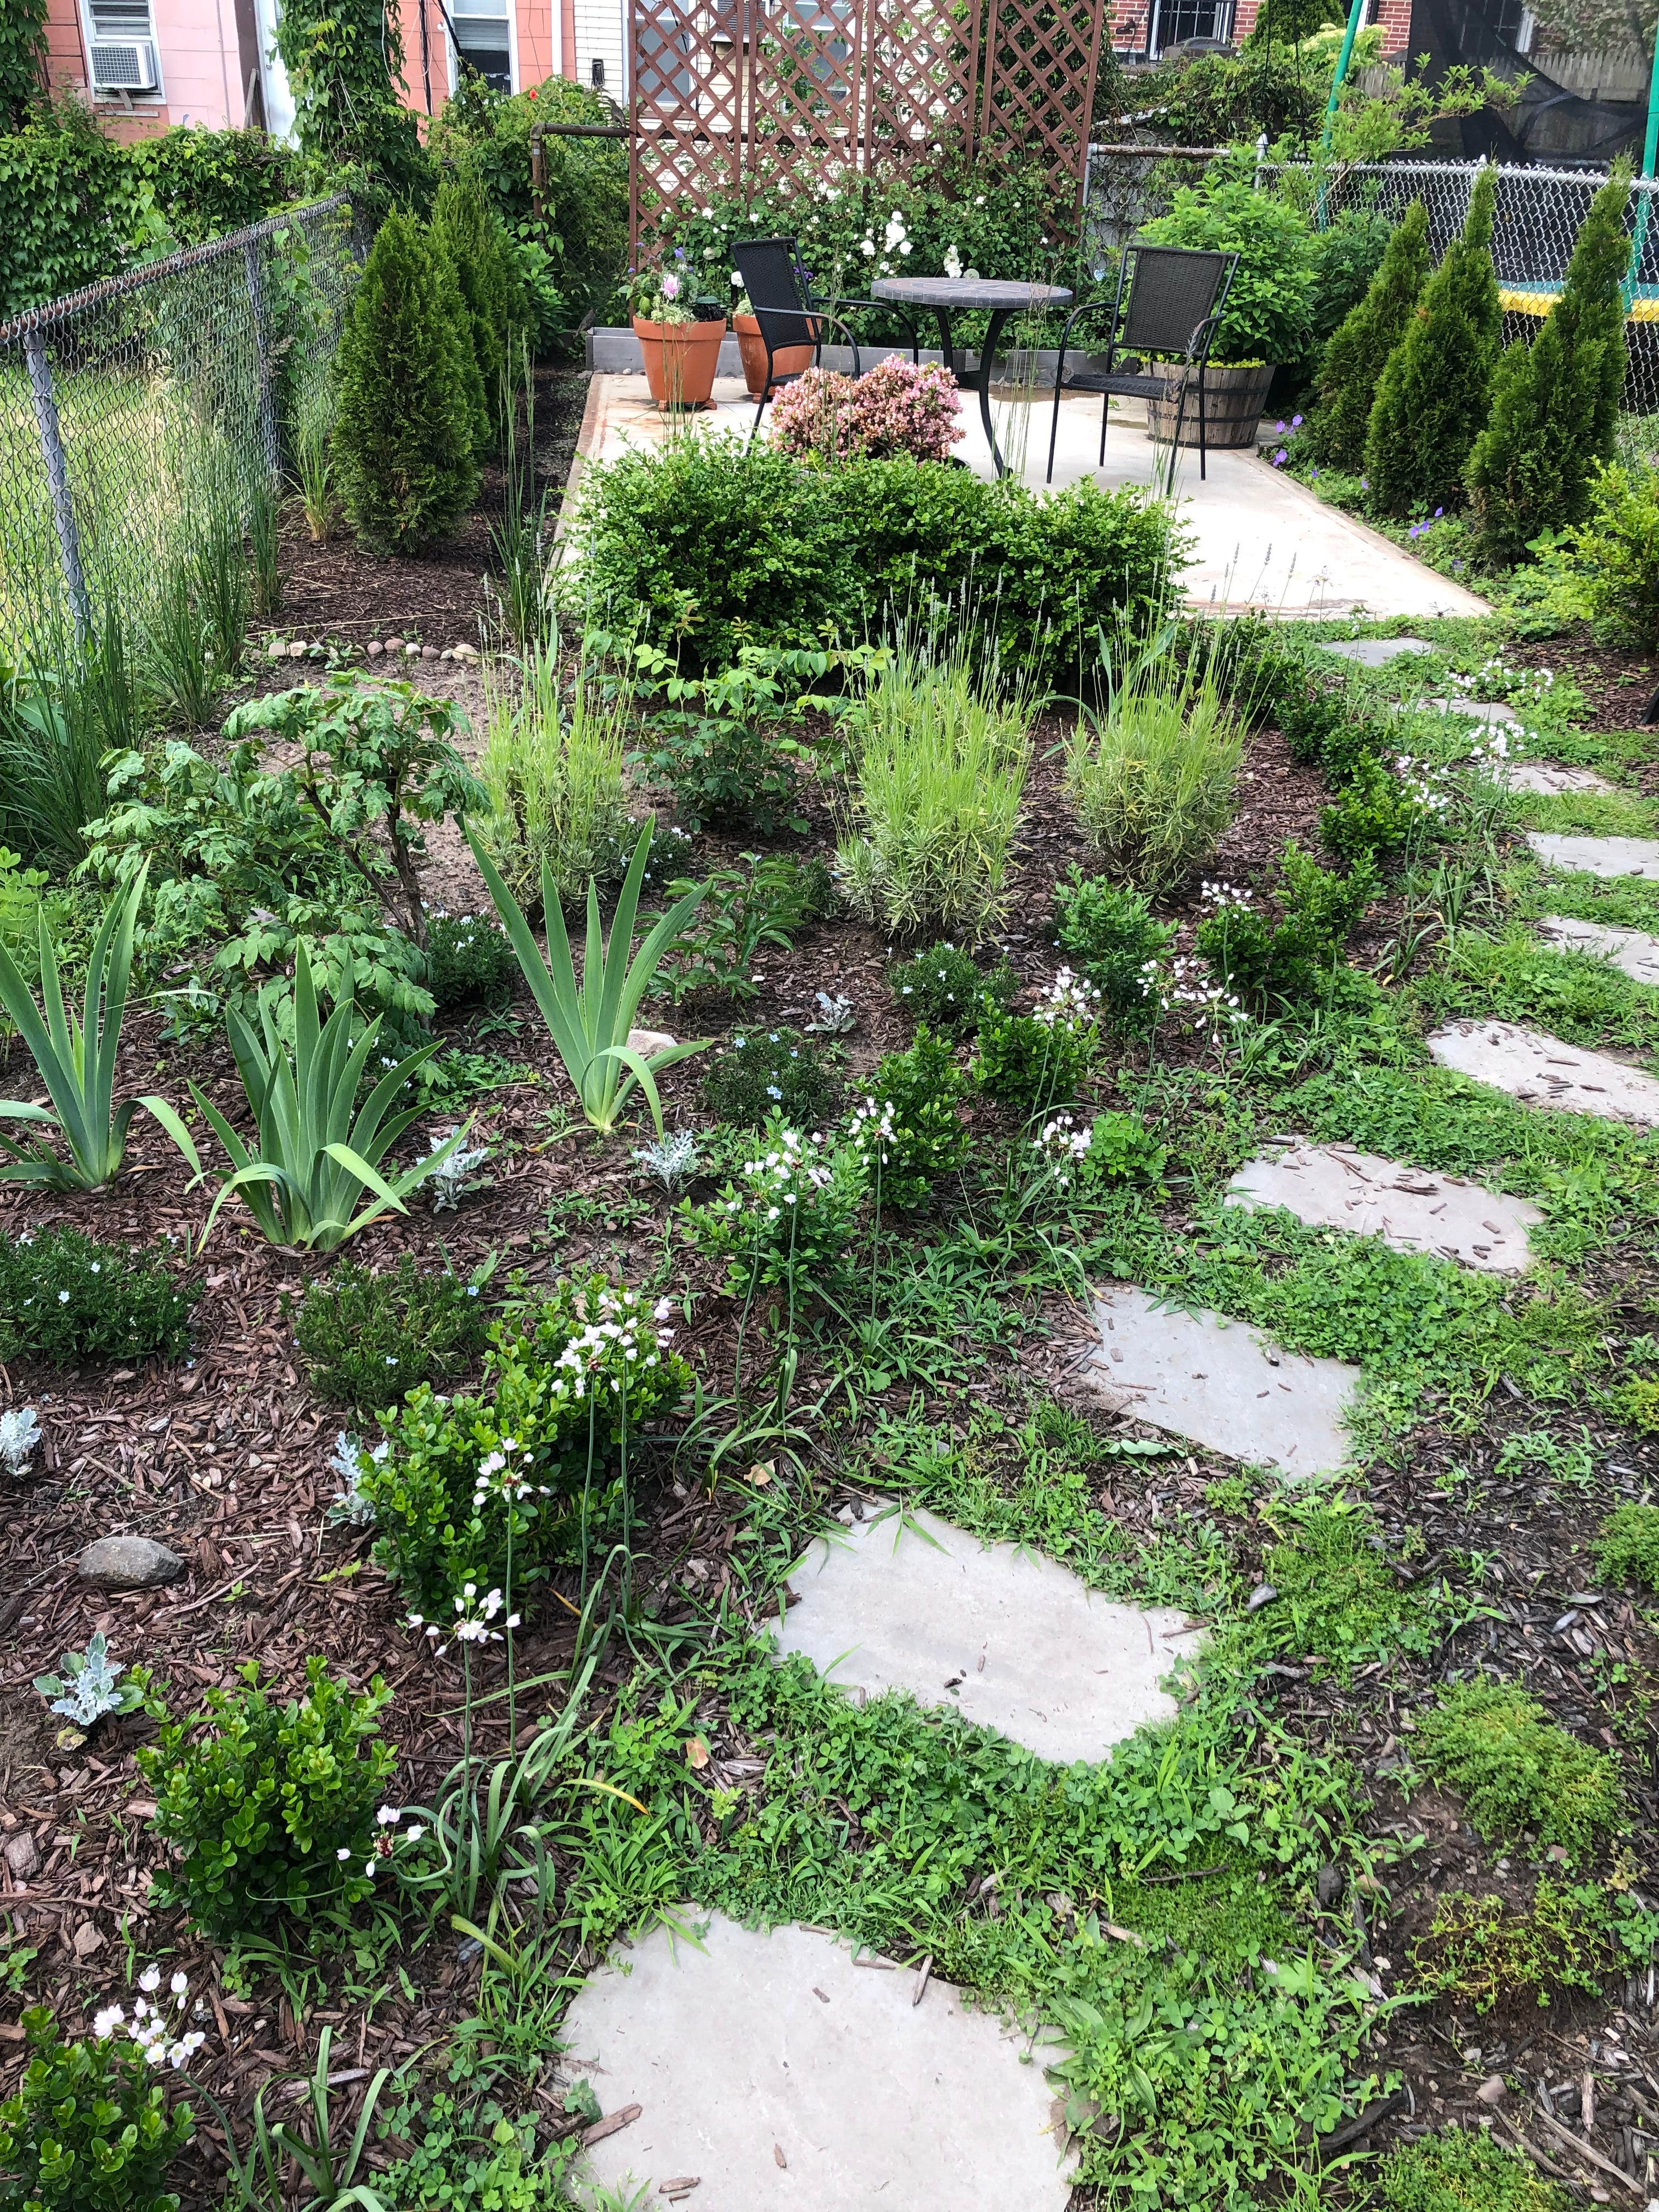
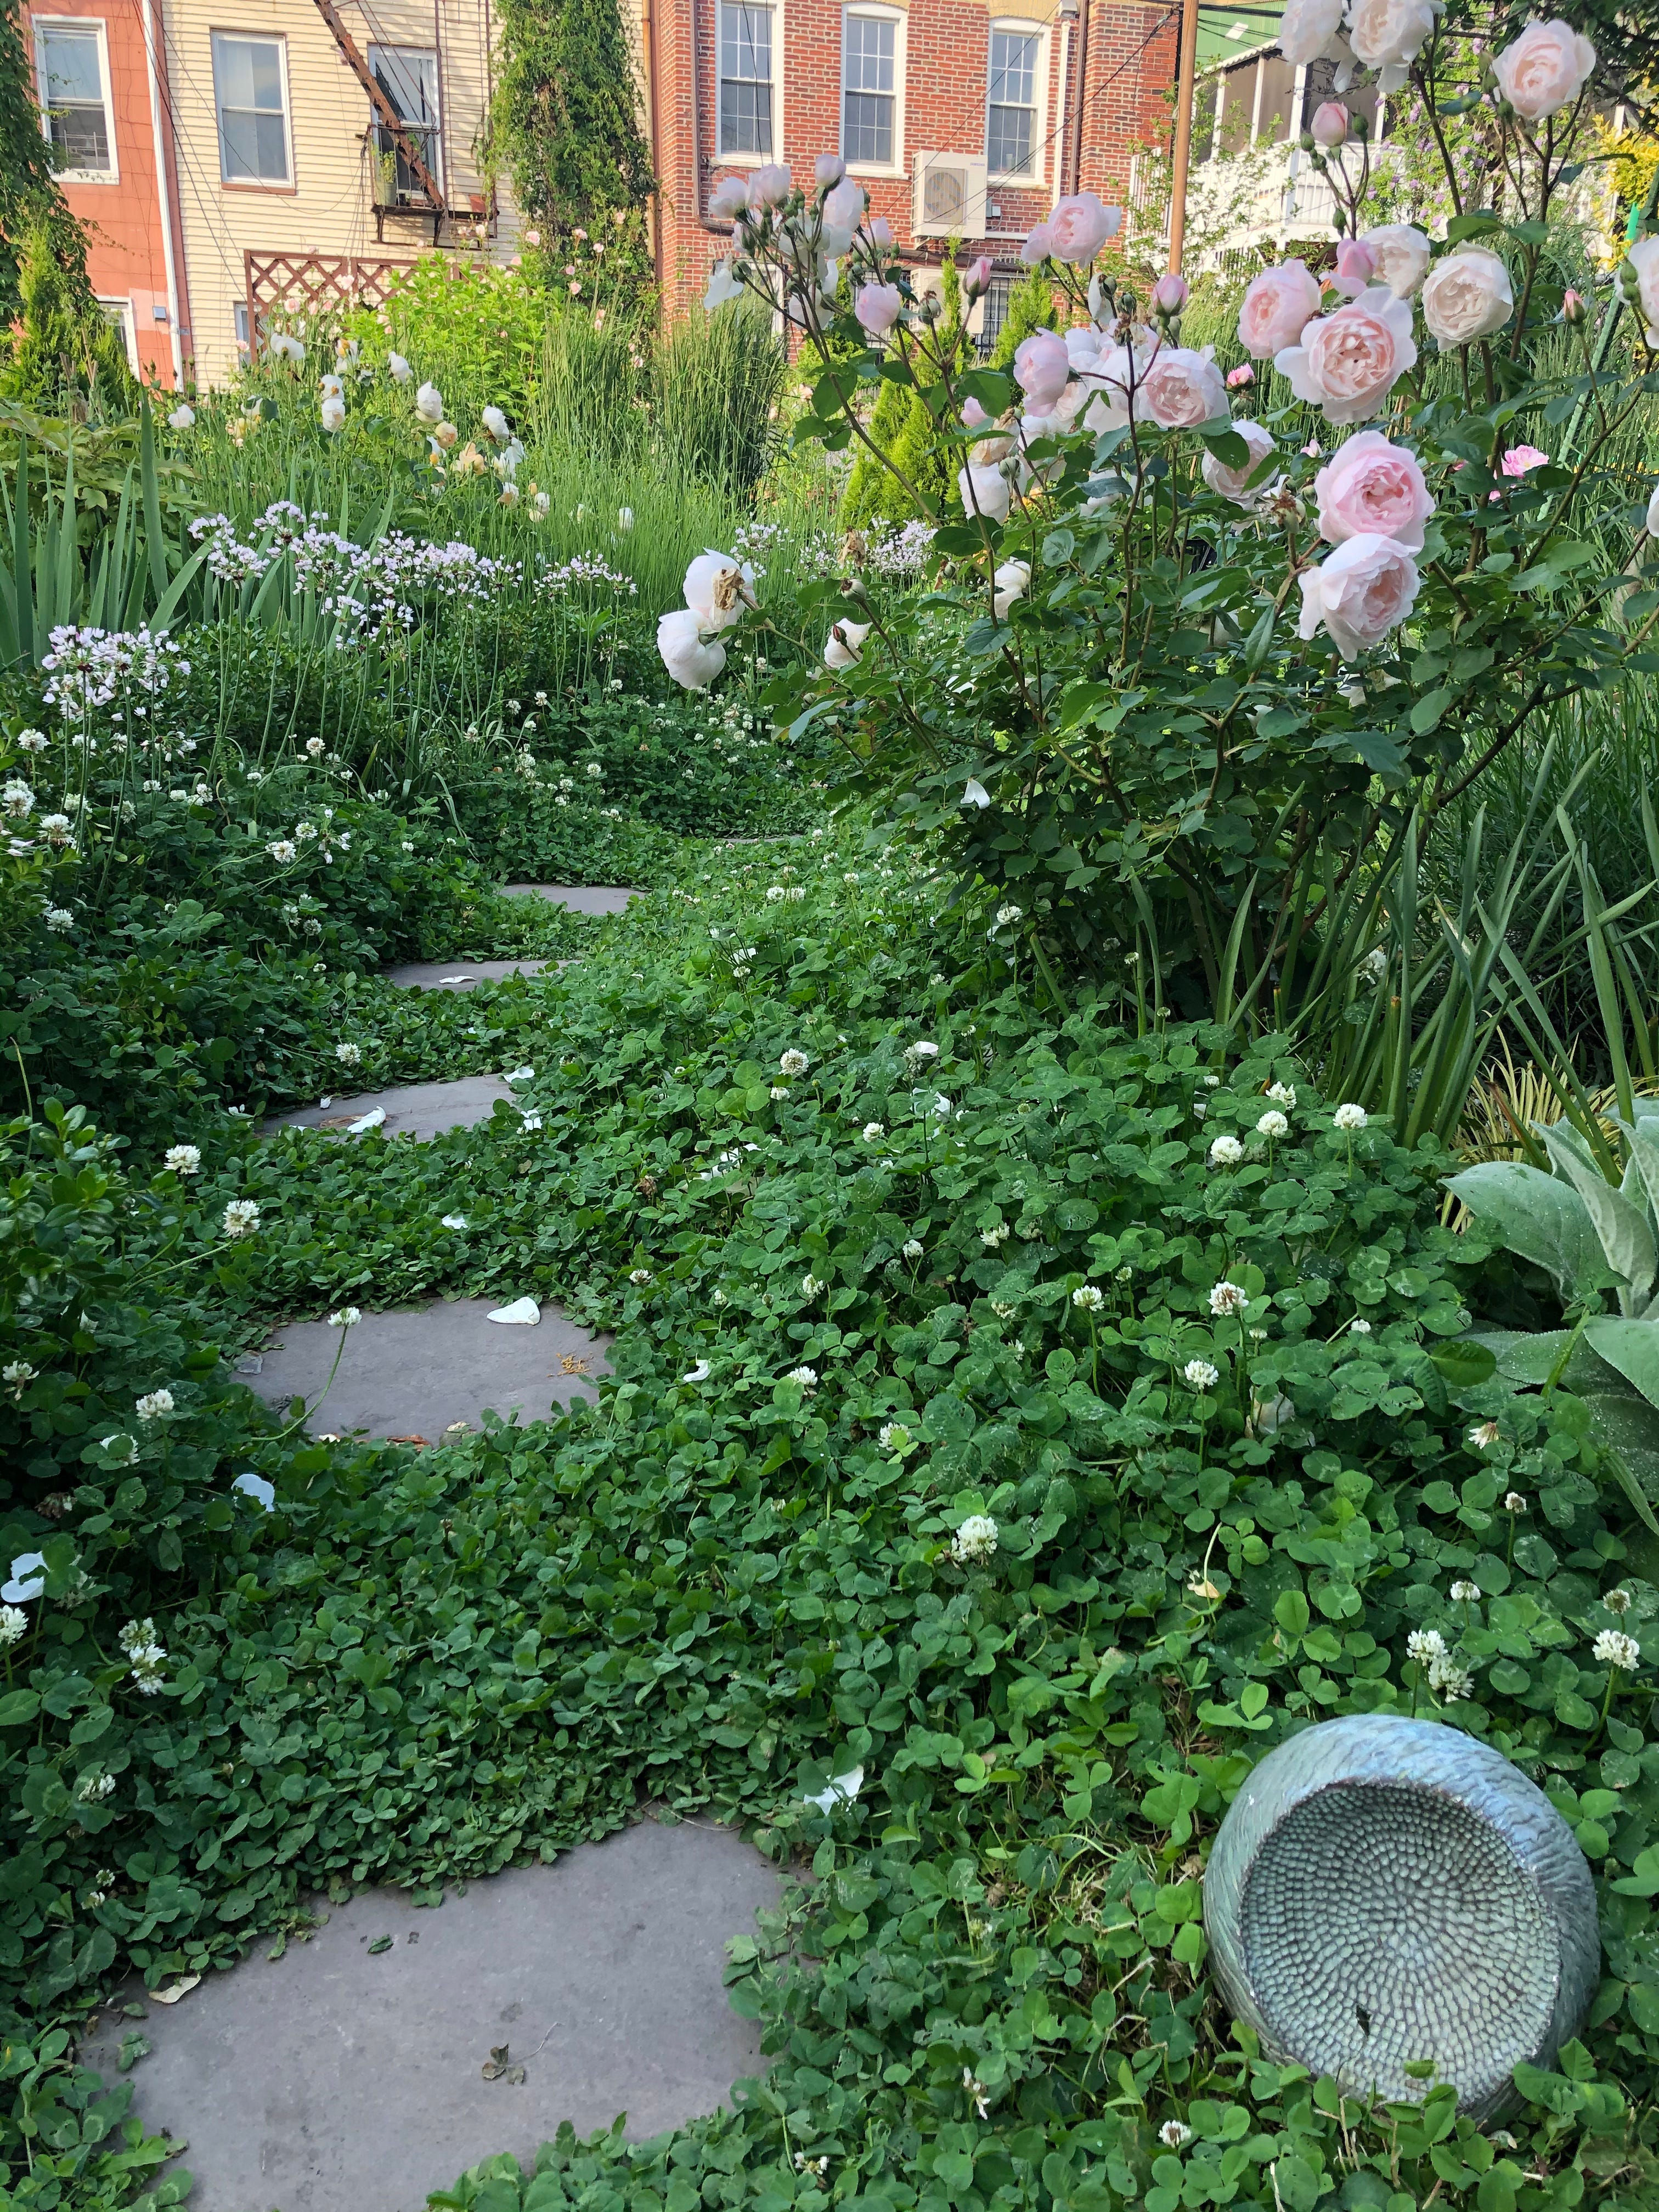
The clover grew quickly and densely. It covered the path with thick foliage that prevented most of the weed seeds from sprouting. It naturally surrounded the stepping stones without any intervention on my part.
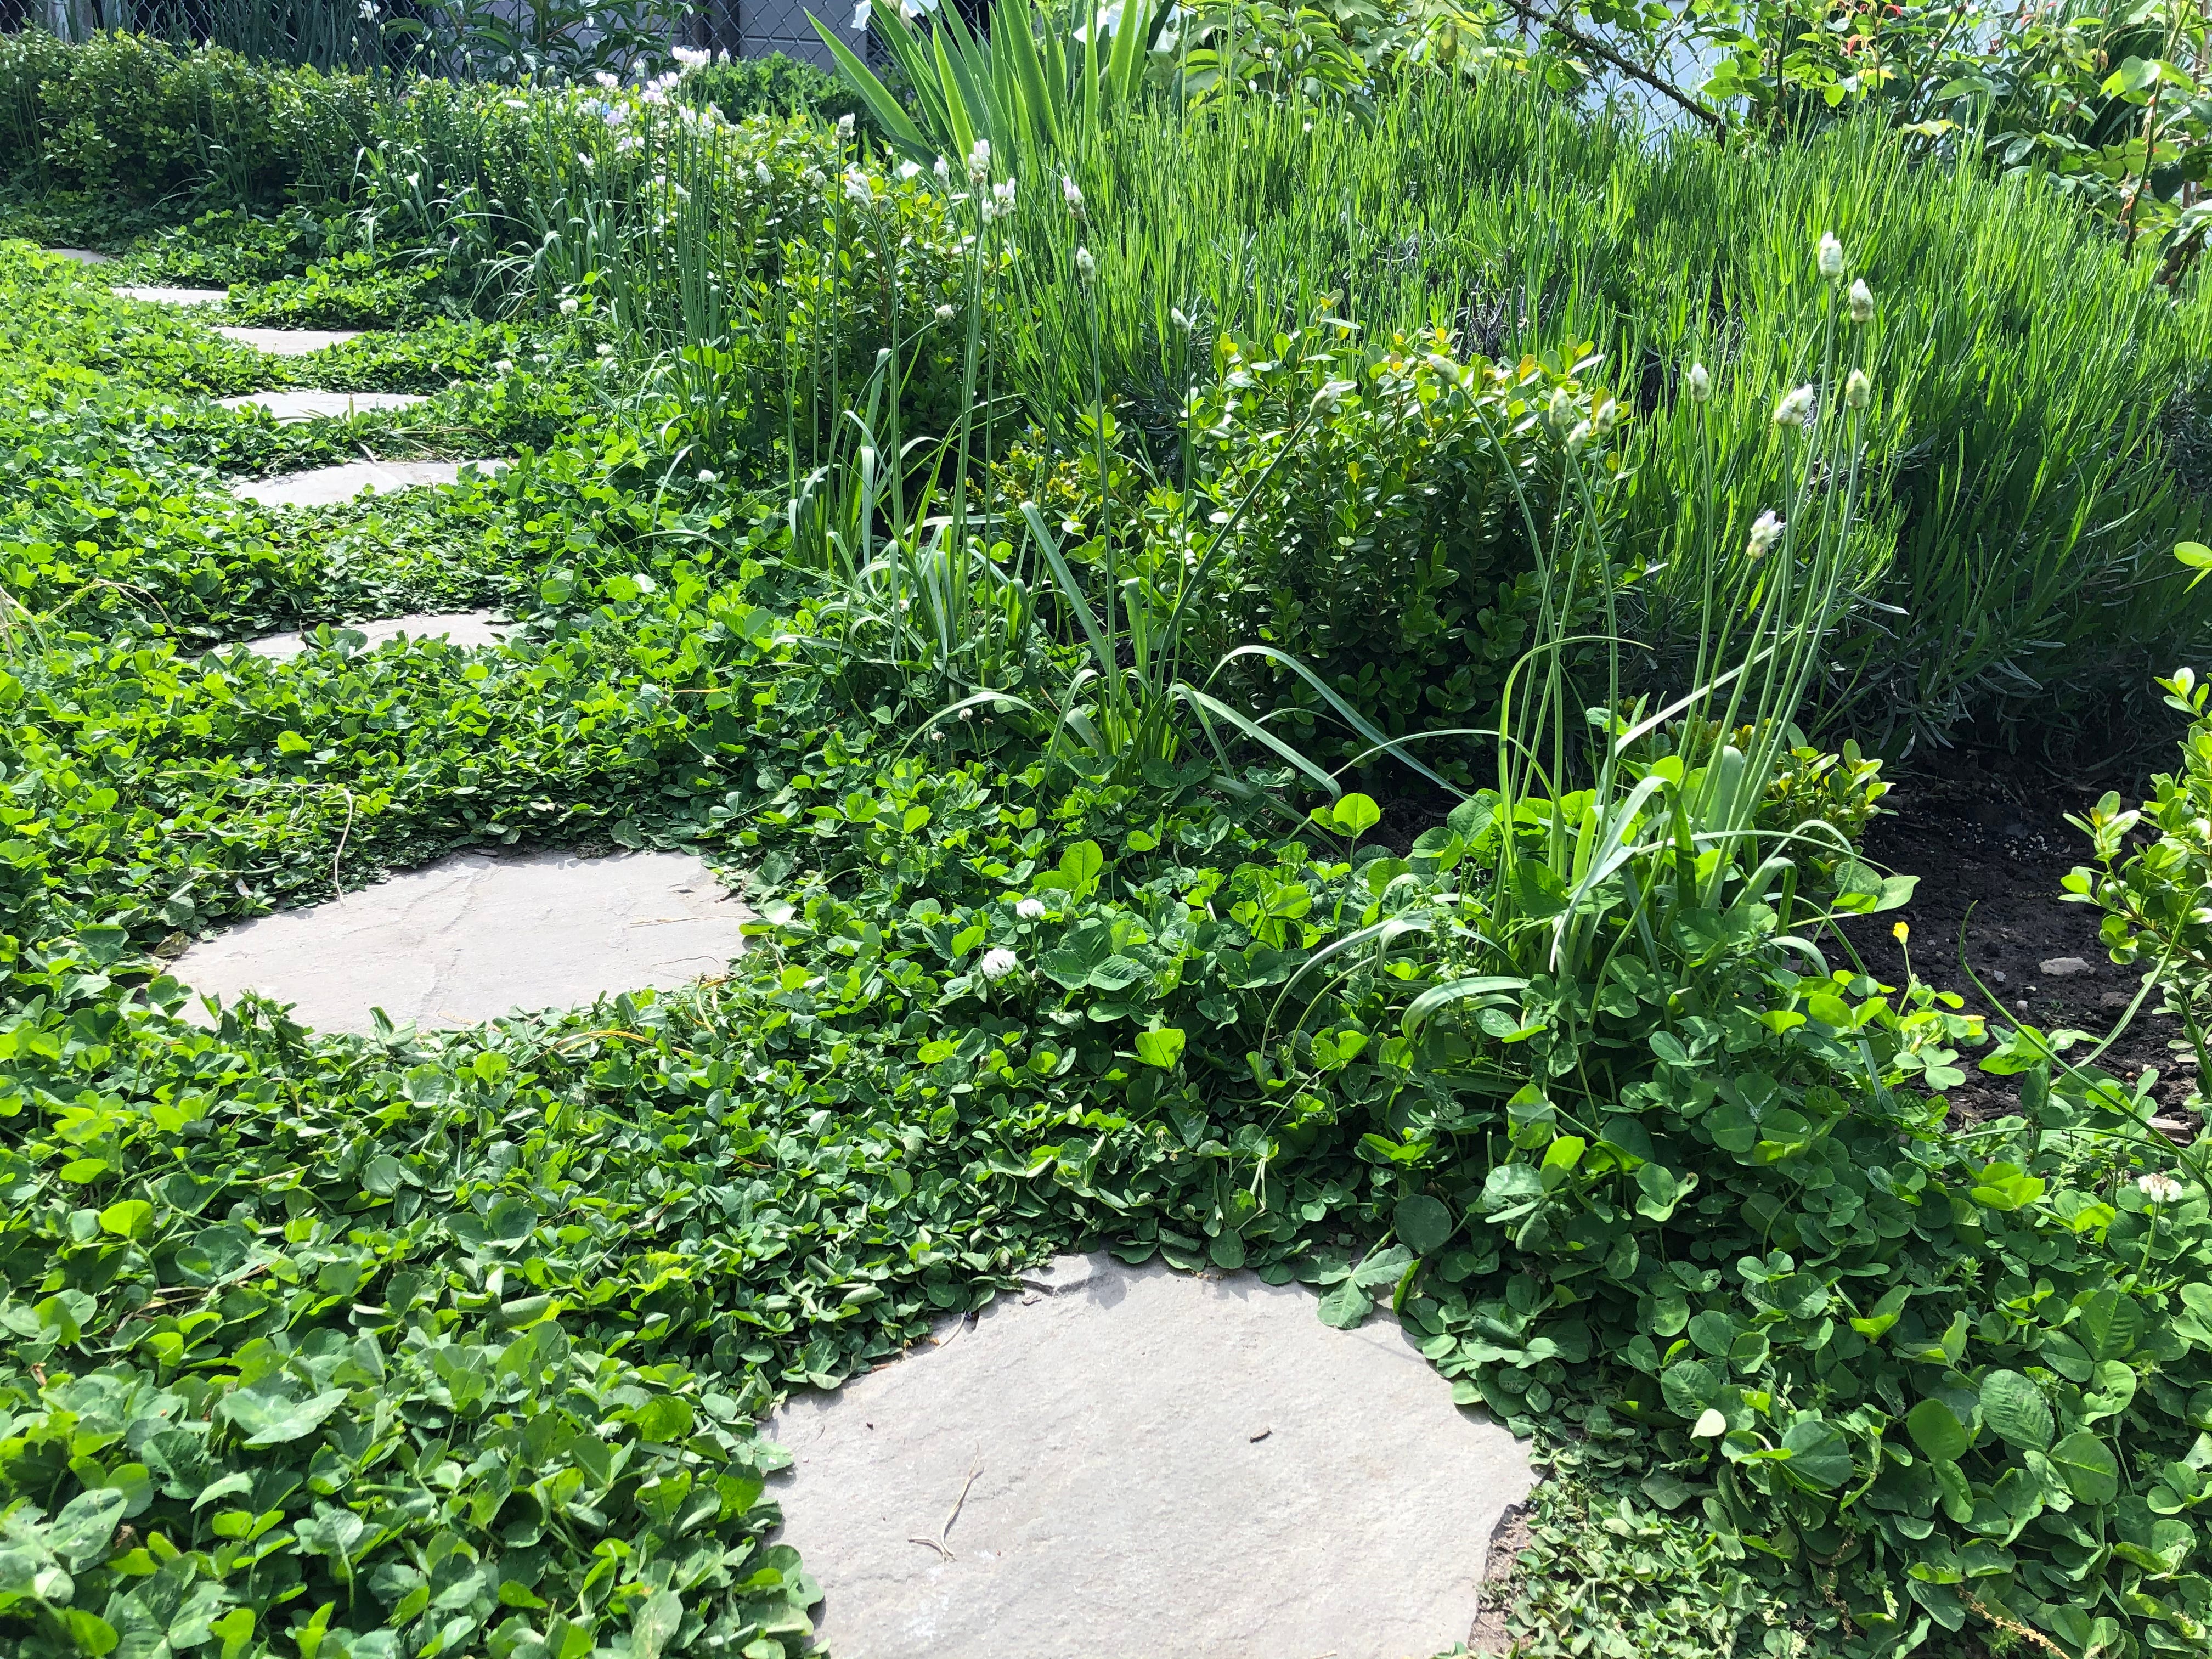
I’m also been very happy with the appearance of the clover path. As a central feature in my garden, I want my path to look as good as my garden beds. I love the unique, low lying texture it brings. It echoes the small leaves of the boxwood hedge but also provides an interesting contrast to the long iris leaves, grassy lavender, large rounded leaves of lady’s mantle and other foliage in the garden.
The clover is also soft to walk on, as long as you avoid any pollinators. Clover actually attracts bees and other pollinators. They come for the white clover flowers and stick around for the rest of the plants in my garden.
This is the path covered in white clover flowers.
Maintaining the Clover
I’ve also been enthusiastic about clover as a ground cover because of the very low maintenance involved. After the bit of spring-time weeding, I don’t do much to keep it up.
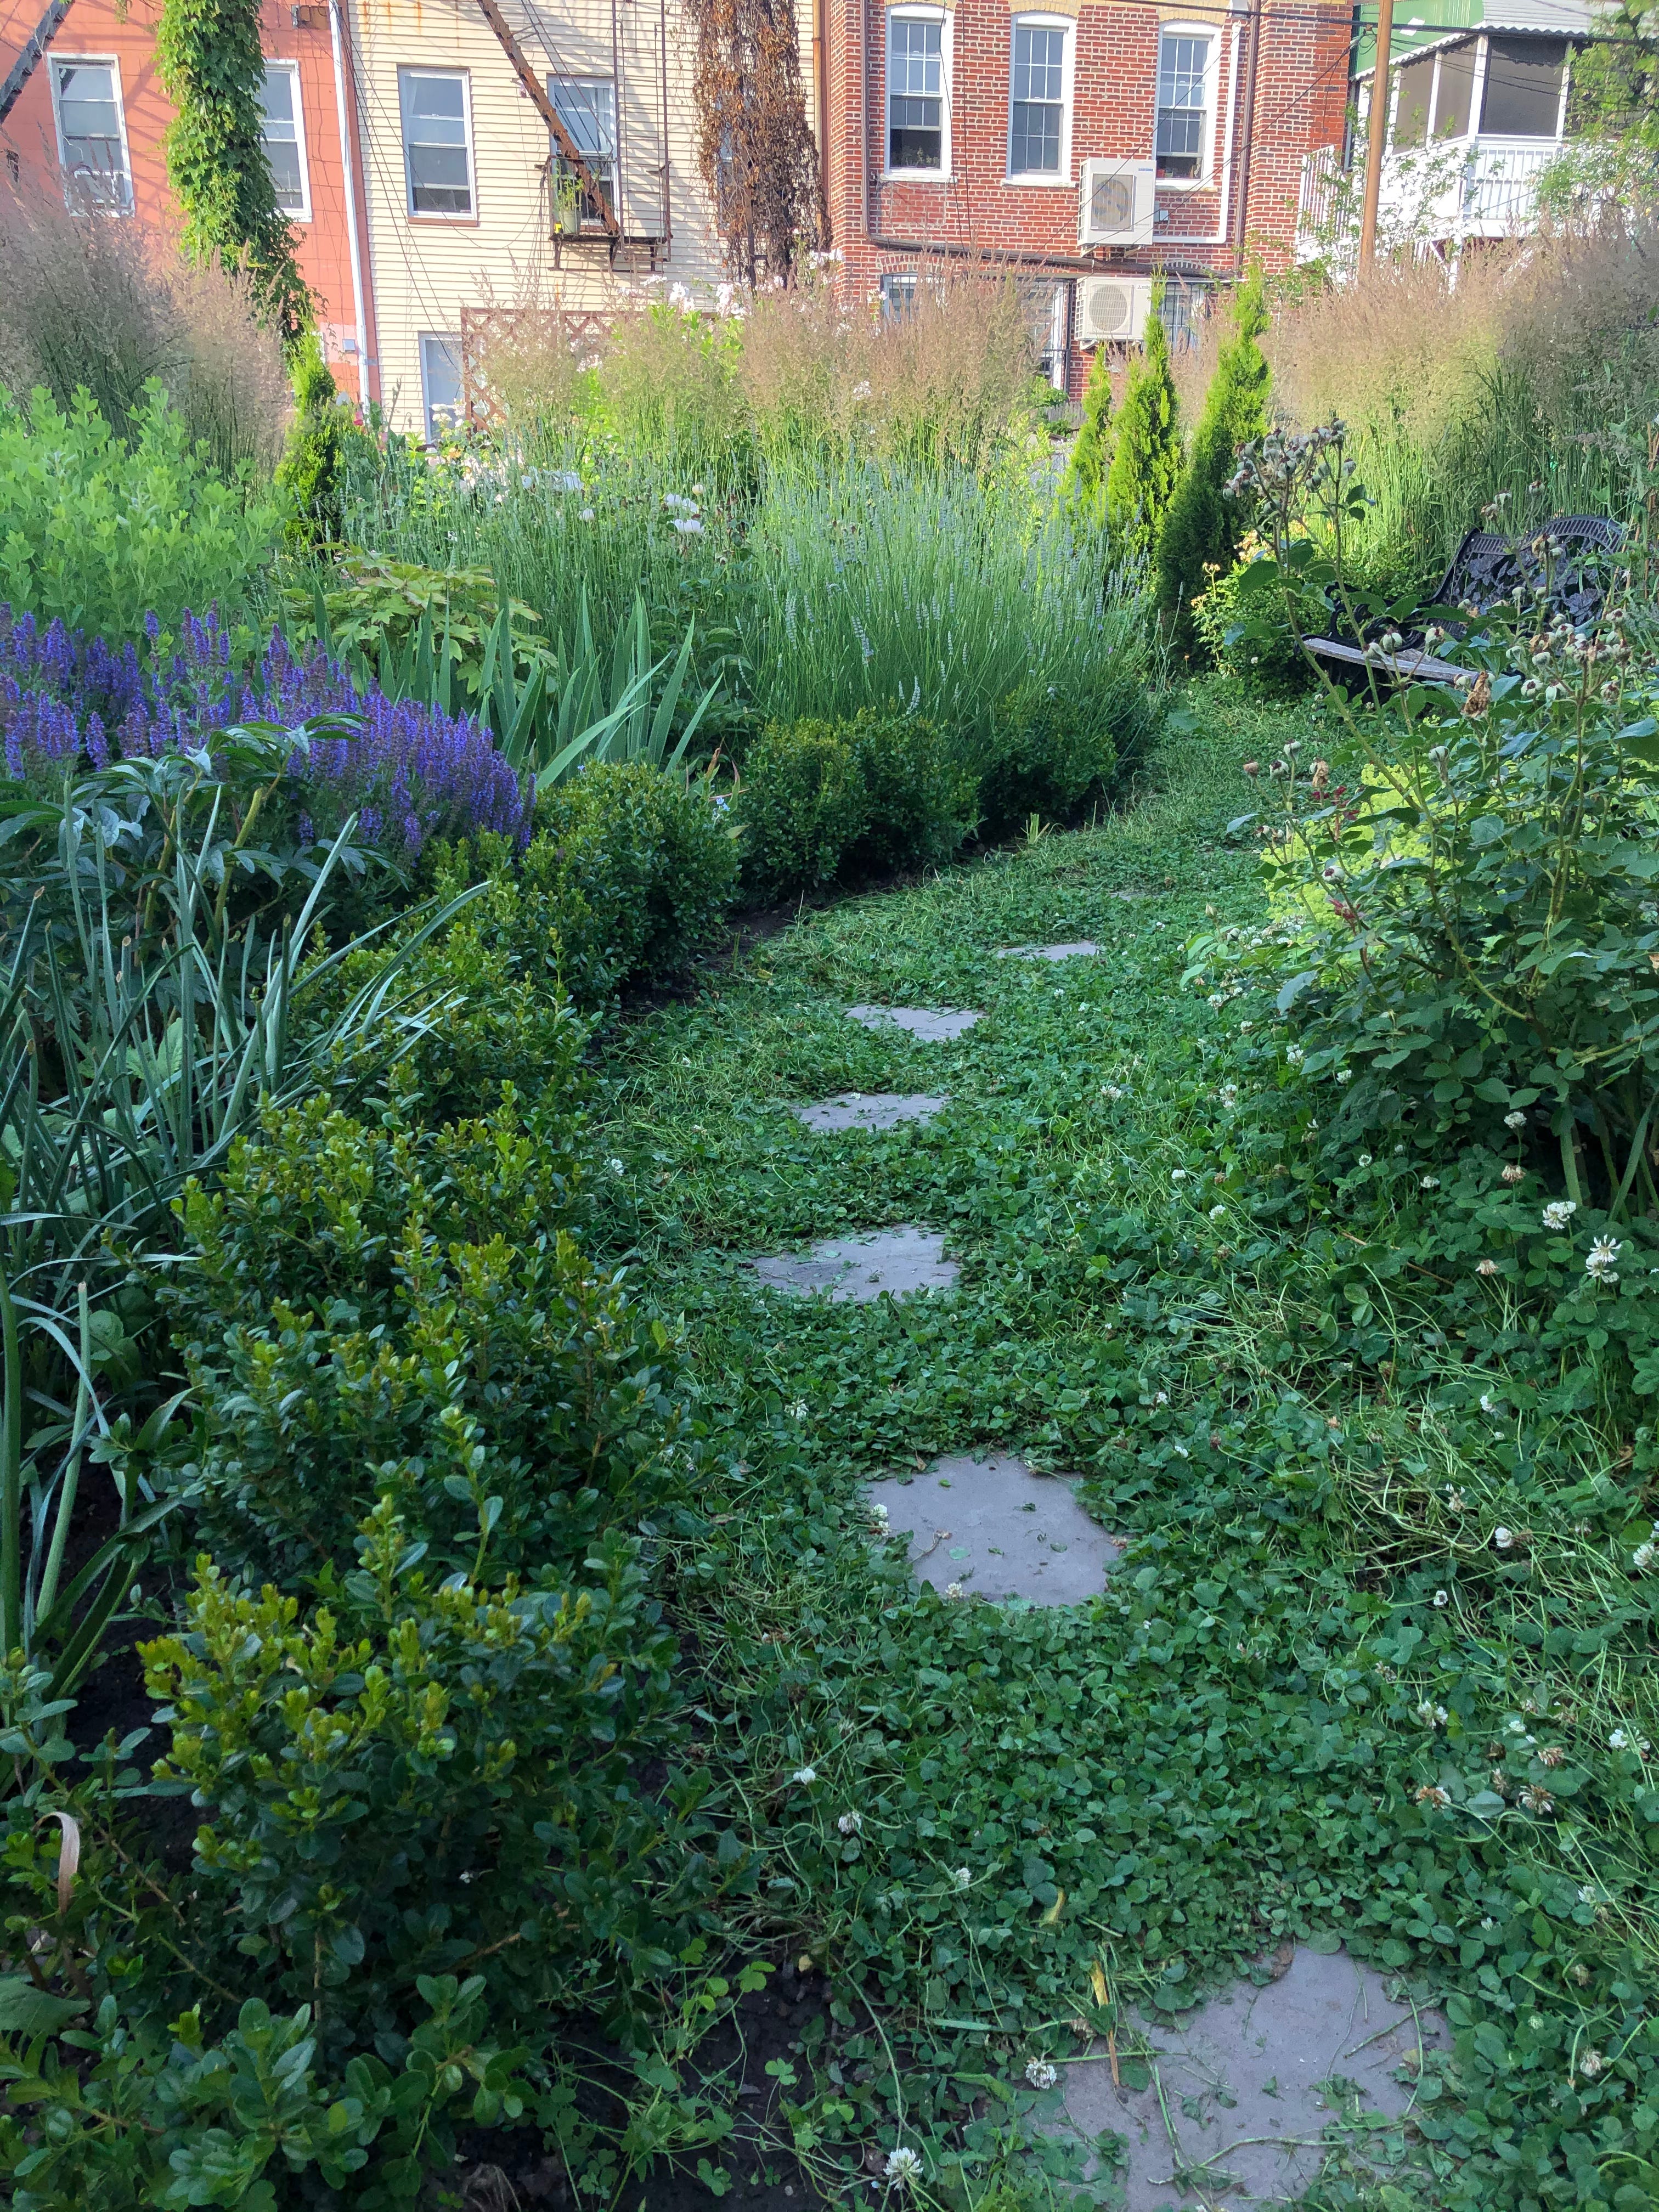
White clover only grows about four to eight inches tall. I prefer it on the shorter side so I mow it every four weeks or so with my manual reel mower. This is also when I edge the garden path, quickly pulling any clover that’s spread into the boxwood hedge. Afterwards, I toss the cut clover, which is rich in nitrogen, into the compost.
This is the garden path after a recent trim.
I’m often asked if the clover moves into the garden beds and wrecks havoc there. I’ve found that the clover creeps around but it’s incredibly easy to tear out because it’s so shallowly rooted.
For me, clover has been a beautiful and practical choice for the garden path.
Thank you for reading and please consider subscribing so you don’t miss anything. Every update will then be emailed directly to you. I appreciate your time and attention!
What a lovely transformation you've achieved in your garden! I love the clover path.
Very helpful! I’m putting in around our new stone path now.